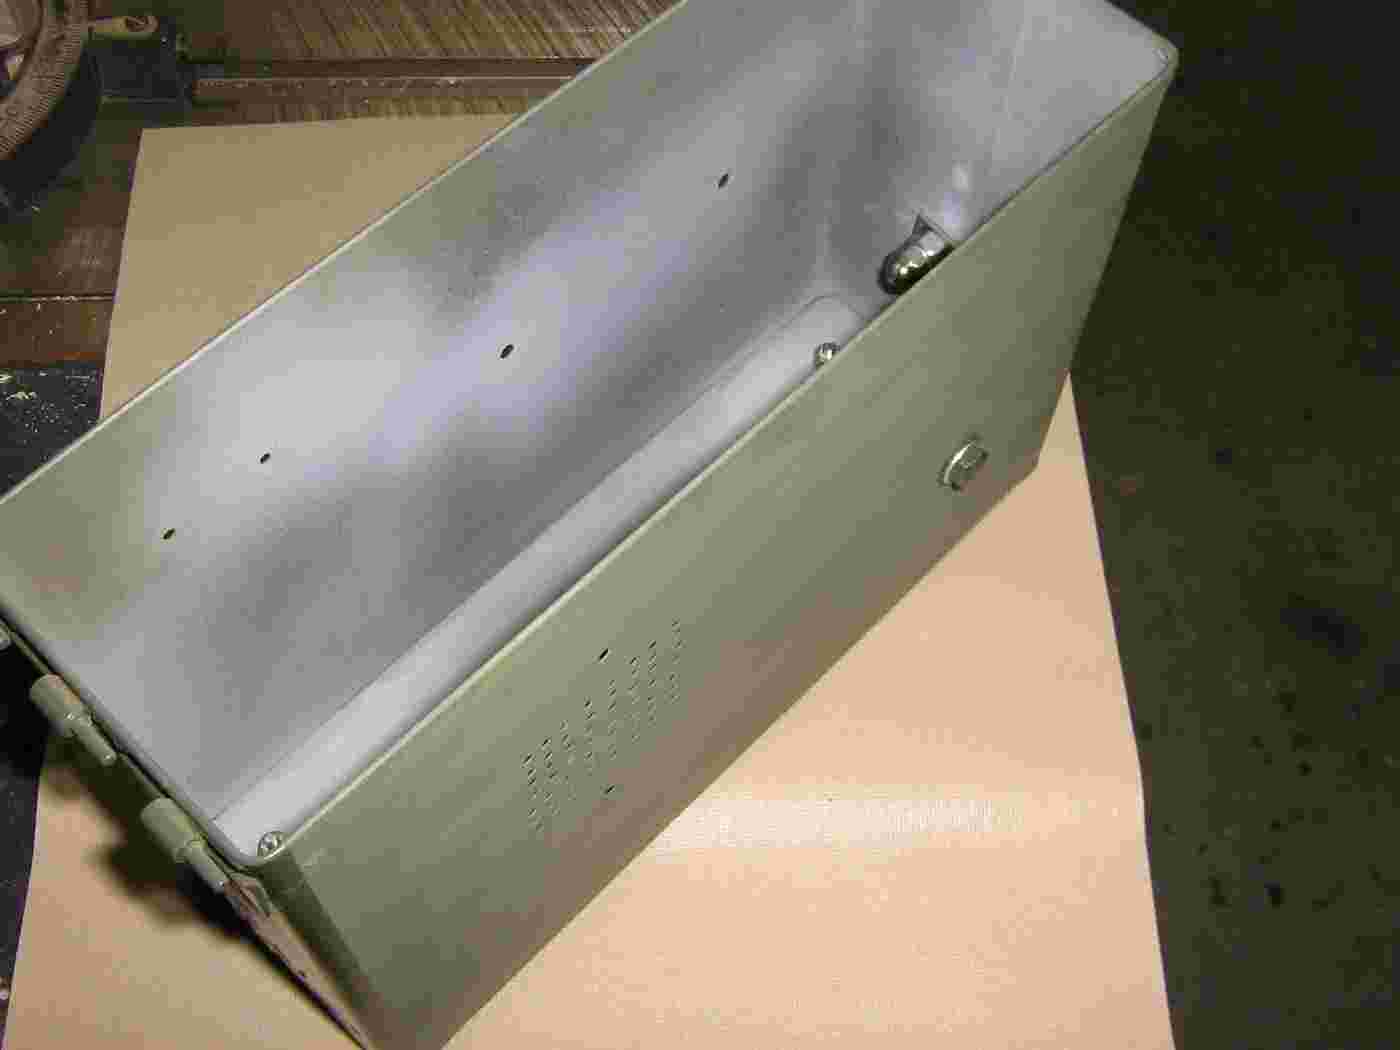
Project case overview. It formally supplied little pieces of 5.56 mm love and happiness. It's not quite as stupid as a cracker box, but hey, we like girls over here.
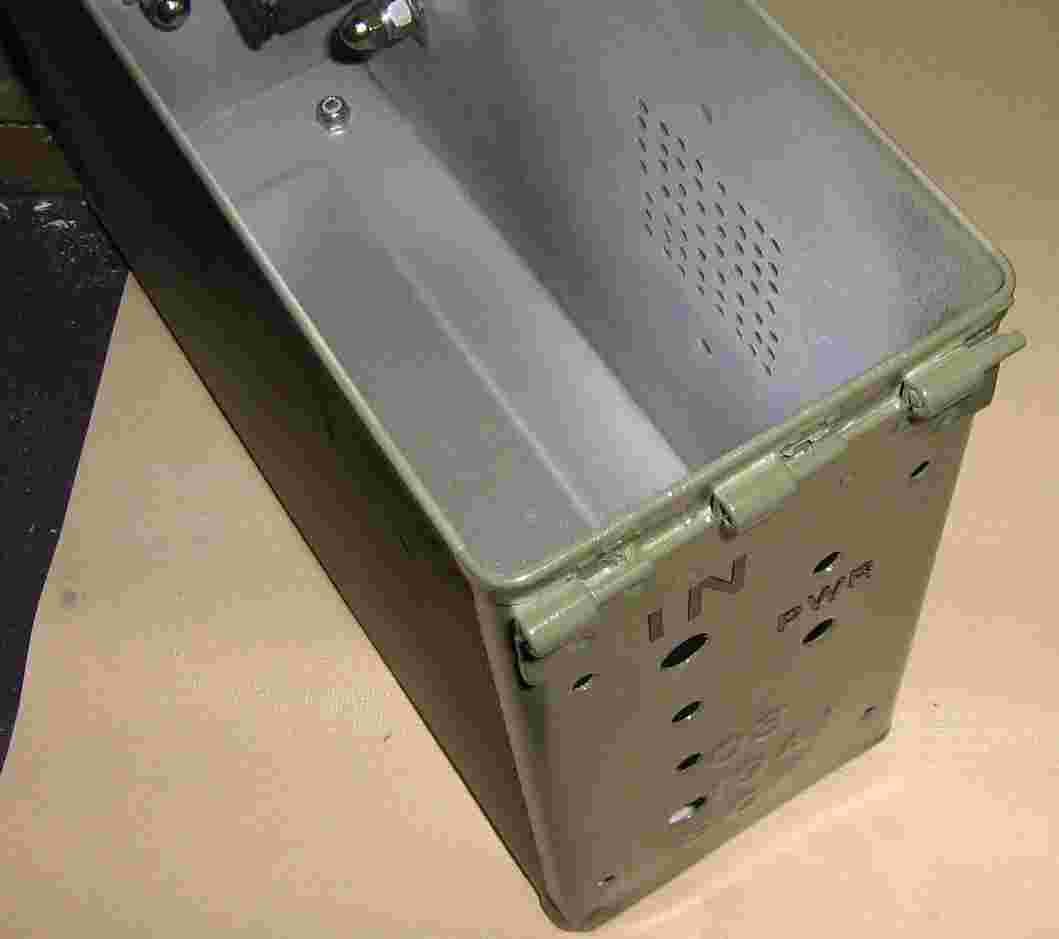
Alternate view showing the front-panel and the array of 1/8-inch diameter speaker holes. In the rear, two L-brackets secure the battery pack to the side of the case. The holes on the left side of the front-panel are for a 1/4-inch jack, a 1/8-inch jack, a RCA jack, and a BNC jack.
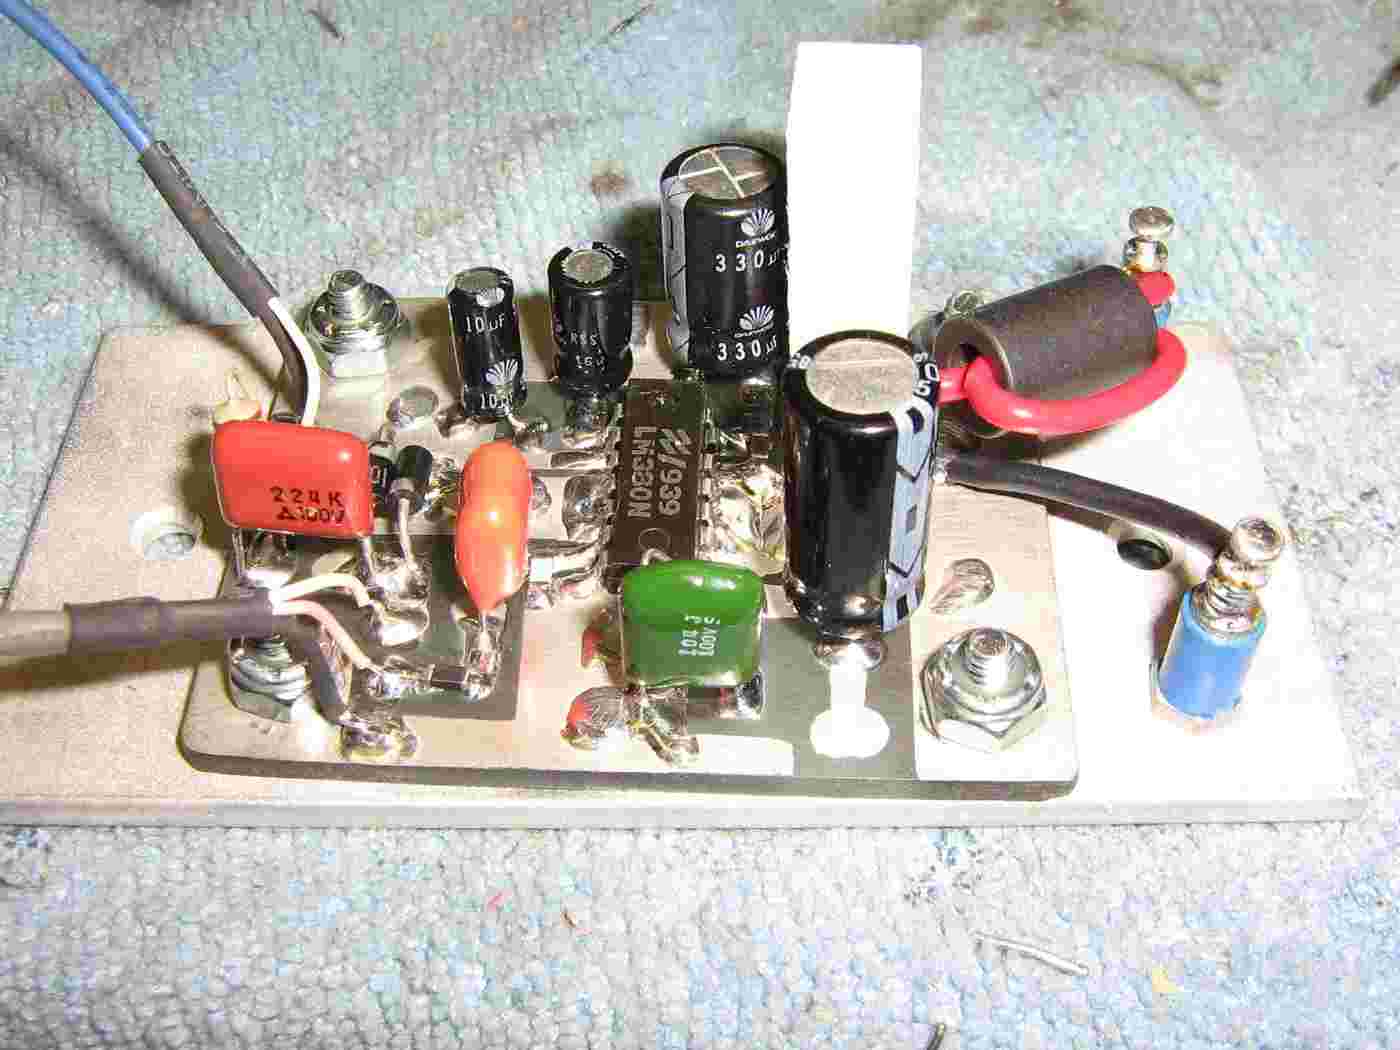
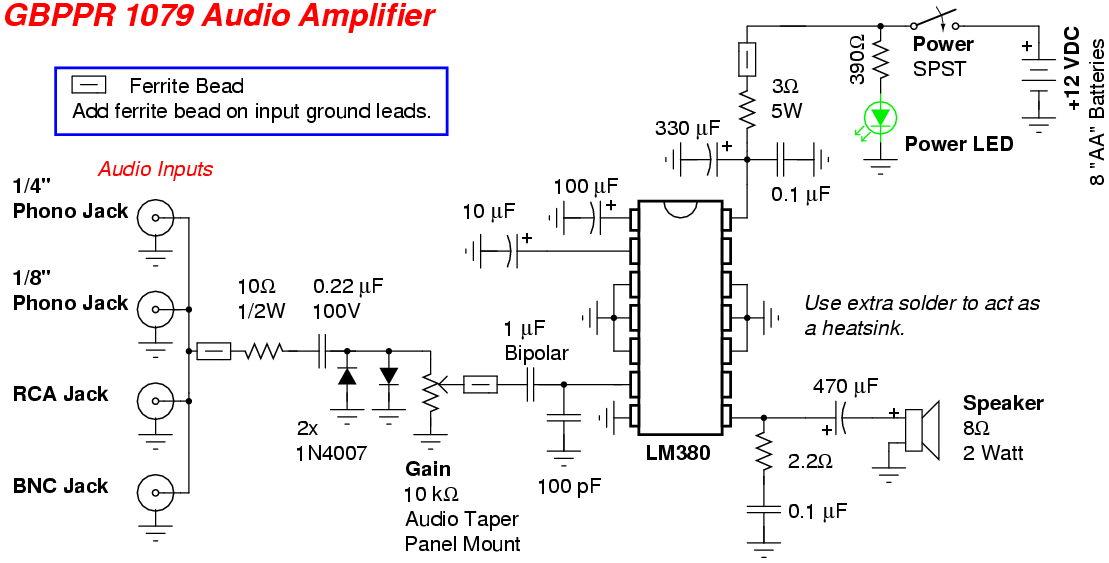
The main amplifier circuit board. Audio input is on the left, via the shielded blue wire. It passes through a DC-blocking capacitor and on to two back-to-back 1N4007 diodes. These clip the signal down to 0.7 peak volts. It then passes onto the 10 kohm audio potetionmeter which acts as a gain control. The signal then comes back, through a ferrite bead and another DC-blocking capacitor, and then onto the LM380. The LM380's final audio output is sent to a small, low-impedance speaker mounted inside the case. A good source of speakers is from old answering machines. There is also extensive filtering on the LM380's DC input lines. A large ferrite bead is slipped over the red positive wire, and a 3 ohm / 5 watt series resistor helps to "de-Q" the power line to prevent oscillations. A 330 µF capacitor near the LM380 smoothes everything else out.
Note the center pins on the LM380 are soldered to the ground plane with alot of solder. This is to help dissipate heat. Try to use a circuit board with two ounce copper plating to help further dissipate heat away from the LM380. The completed circuit board is then mounted on a piece of aluminum plate, which is then attached to the side of the case.
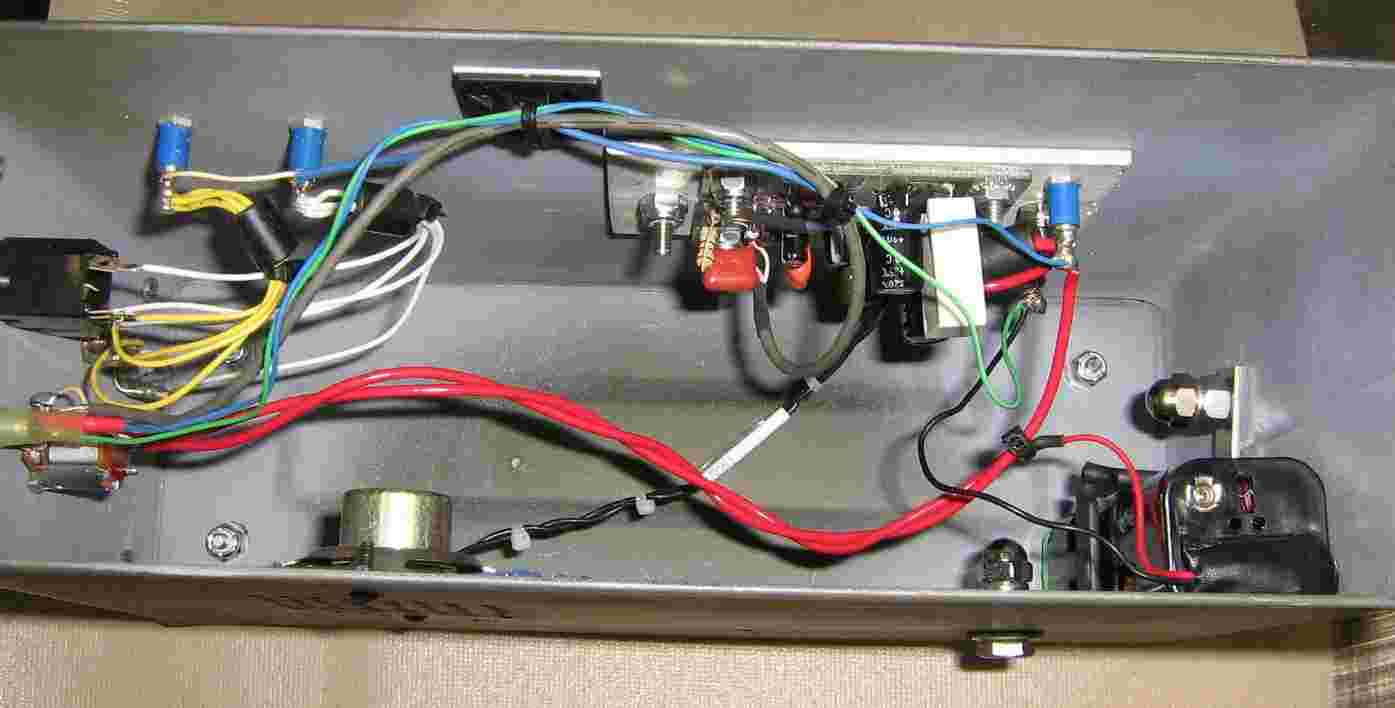
GBPPR 1079 Audio Amplifier internal overview. Front-panel is on the left. The common inputs and grounds from all the front input jacks tie to signal points, with an additional ferrite bead slipped over them to block any RF interference. The speaker and the main amplifier circuit board are mounted in the middle, and the "AA" battery pack is on the lower right.
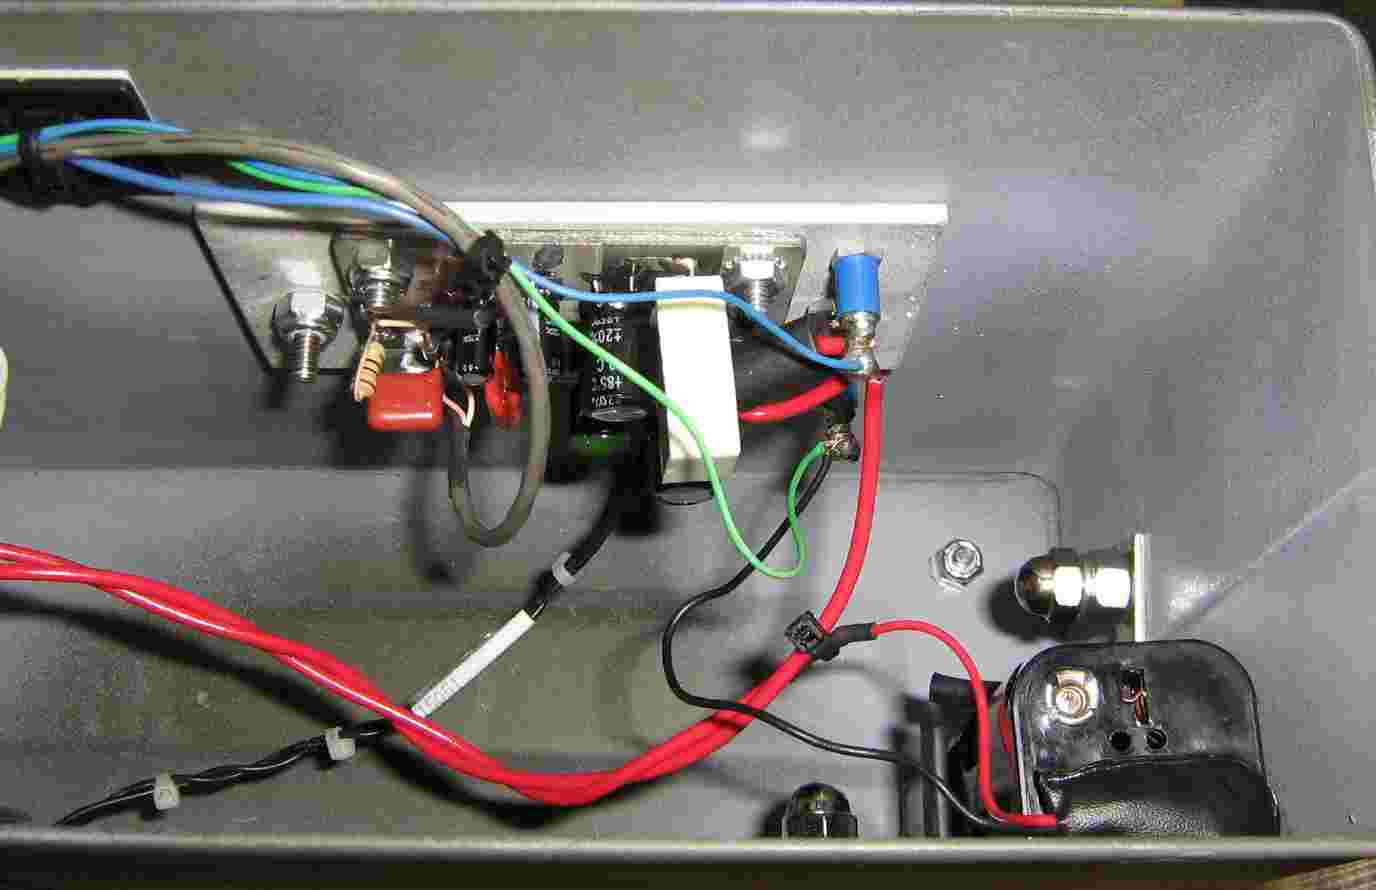
Close up picture of the main circuit board and the battery pack. Since the LM380 can draw up to one amp, you should try to use fairly heavy gauge wire for the LM380's power connections. The small blue and green wires are for the front-panel LED power indicator.
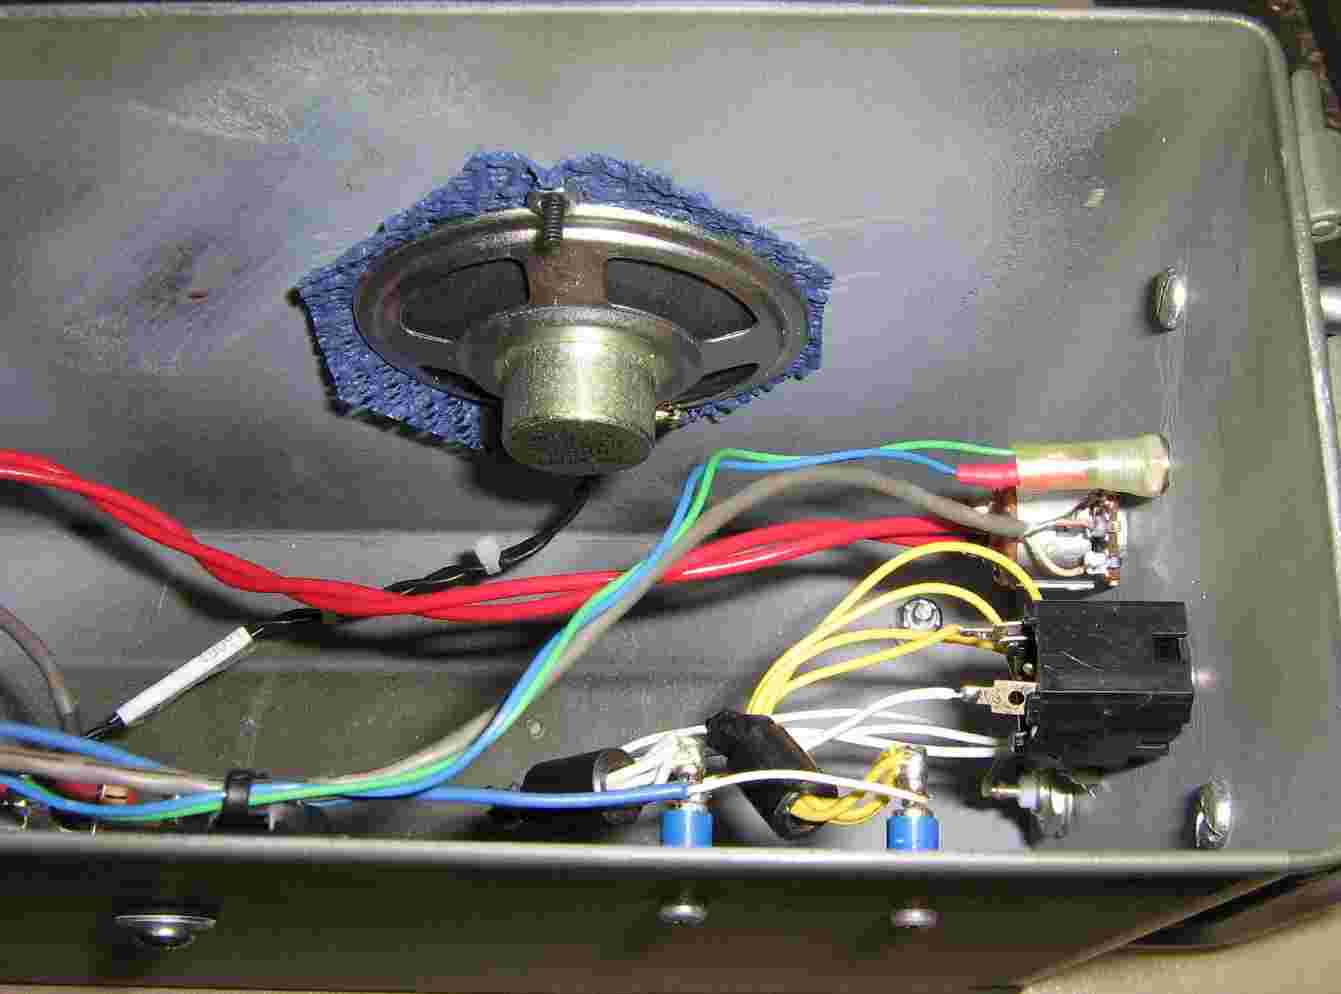
Close up picture showing the speaker and front-panel connections. A piece of "non-slip" pad is used to seal the speaker to the side of the case.
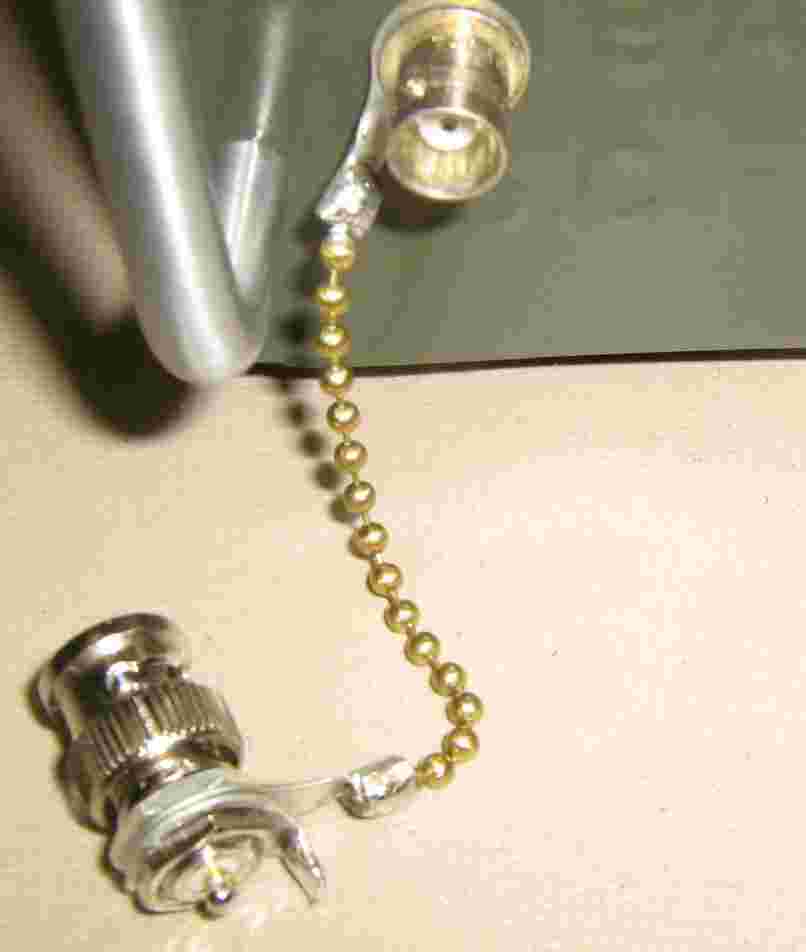
On the BNC input jack, a small chain (from a lamp pull), two solder tabs, and a male BNC connector, were used to make a protective cap which also doubles as clip-on points for alligator clips.
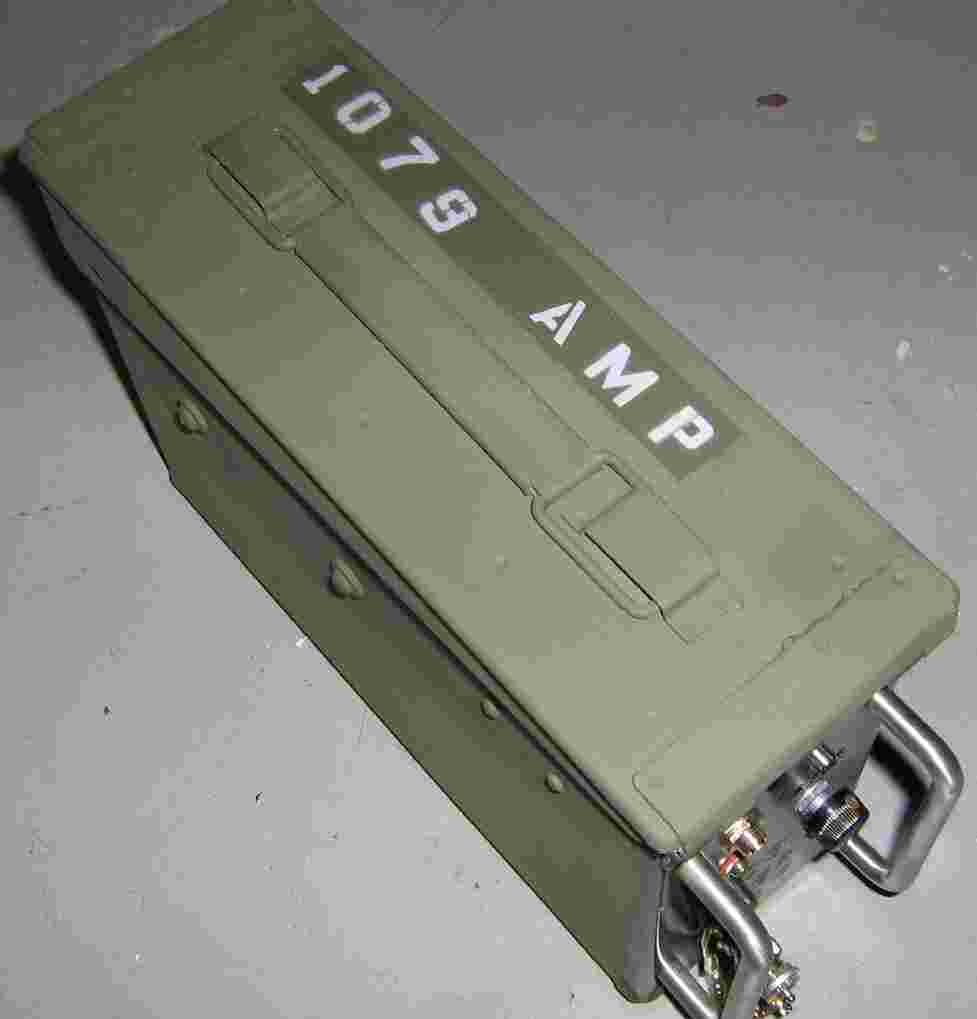
Completed project outside case overview.
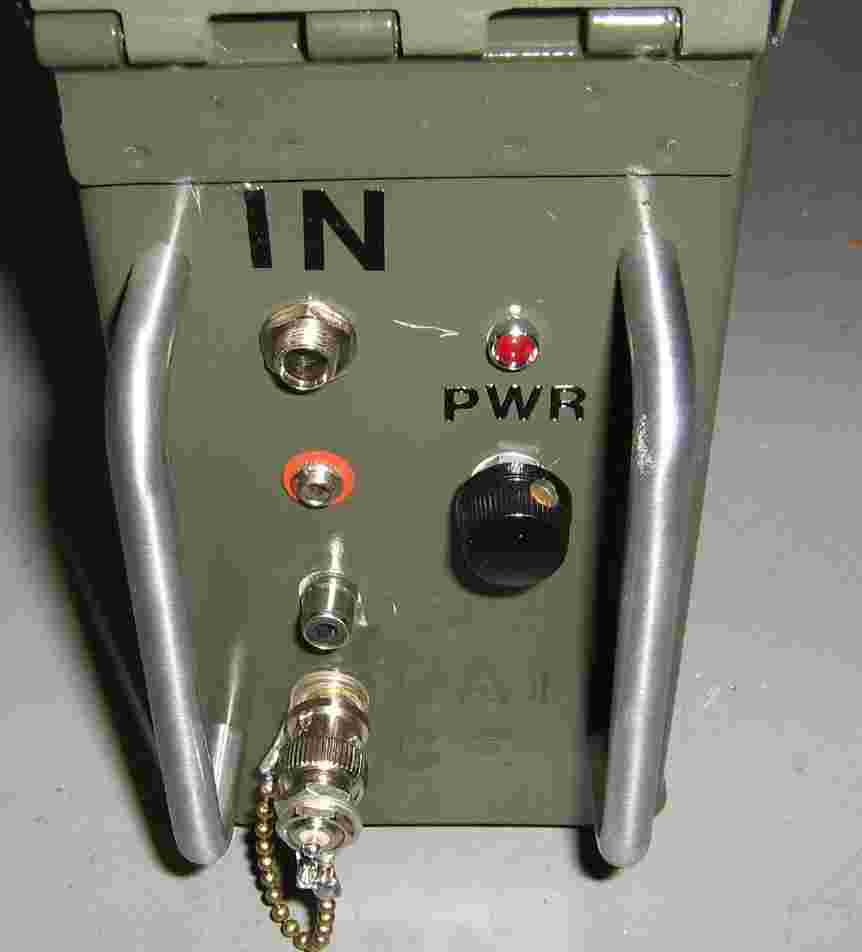
Completed project front-panel overview.